Cursor Tutorial for Beginners: Complete Guide from Install to Fluency (2026)
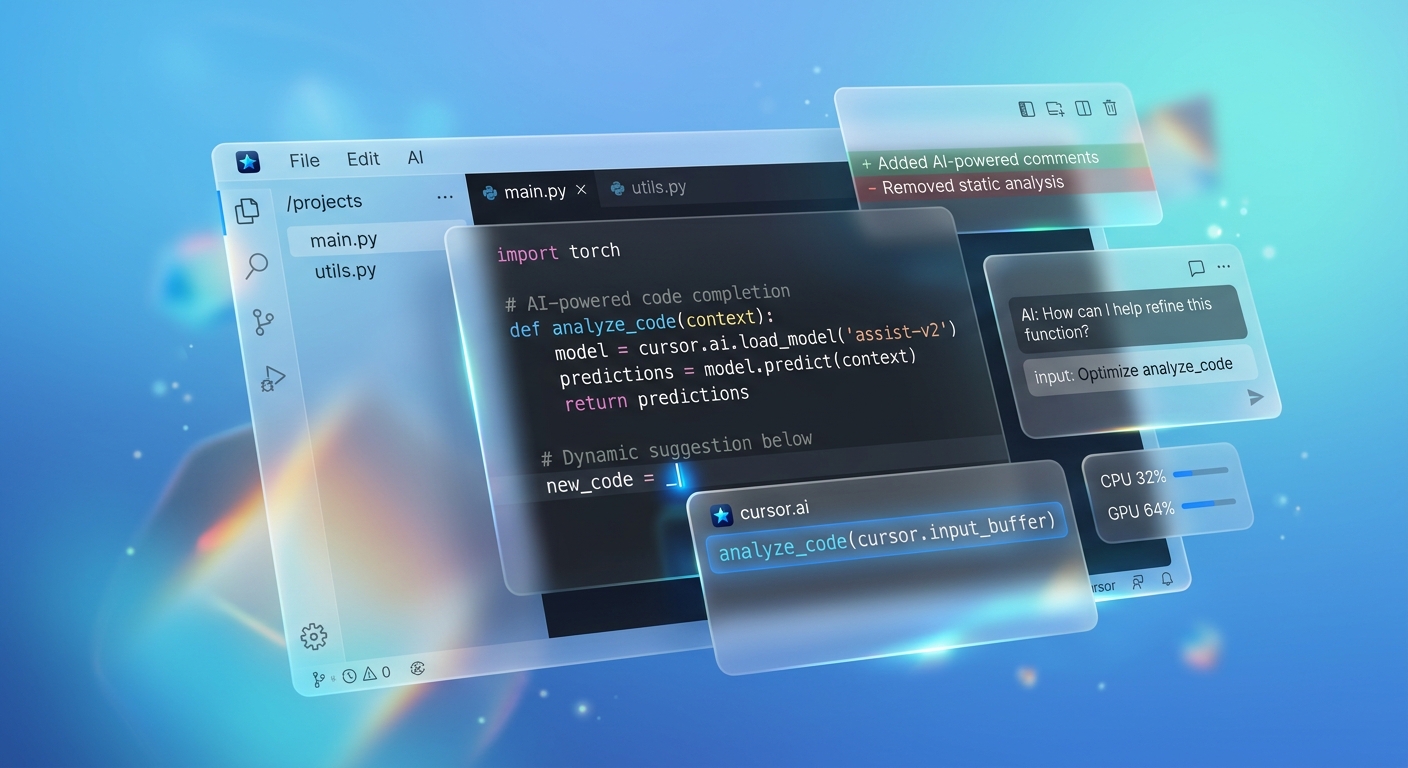
TL;DR: Cursor is an AI-powered code editor that embeds models like GPT-4 and Claude directly into your workflow, making it a powerful productivity tool for developers of all skill levels.
Cursor Tutorial for Beginners: Complete Guide from Install to Fluency (2026)
Just heard about Cursor but not sure where to start? This beginner’s guide walks you through everything — from downloading and installing to the core features — step by step.
Cursor is one of the most popular AI-powered code editors among developers right now. It embeds top-tier models like GPT-4 and Claude 3.7 directly into the editor, so you always have AI assistance while you code. Whether you’re a seasoned developer or just starting out, Cursor can significantly boost your productivity.
One-line summary: Cursor = VS Code’s interface + top AI model capabilities. The free tier covers everyday use; Pro at $20/month is for heavy users.
What Is Cursor and Why Learn It?
Relationship to VS Code
Cursor isn’t built from scratch — it’s a deeply customized AI-enhanced fork of VS Code’s source code. That means:
- Almost every VS Code extension works in Cursor
- Keyboard shortcuts, layout, and themes are nearly identical
- Migrating from VS Code has virtually zero learning curve
In short: if you’ve used VS Code, opening Cursor for the first time feels like “wait, this is just VS Code” — until you start using the AI features and realize how big the gap is.
Supported AI Models
Cursor ships with several leading models you can switch between at any time:
- Claude 3.7 Sonnet (Anthropic): Strong code comprehension and reasoning — the most popular choice
- GPT-4o (OpenAI): Fast responses, great for everyday completions and Q&A
- GPT-4o mini: Fastest, lowest token cost, ideal for simple tasks
- Gemini 1.5 Pro (Google): Large context window, great for long files
- DeepSeek R1: Strong Chinese language understanding, excels in certain scenarios
Different models consume different amounts of your “fast request” quota. Claude 3.7 and GPT-4 are premium models and use more quota.
Who Is Cursor For?
- Developers with VS Code experience: Near-zero migration cost, AI capabilities unlocked immediately
- Students learning to code: AI explains code and helps debug — learning efficiency doubles
- Solo full-stack developers: Agent mode can autonomously build out large feature blocks
- Non-technical users who need scripts: Describe what you want in plain language, AI generates the code
Downloading and Installing Cursor
Official Download
Go to cursor.com and click Download. Choose the version for your OS:
- macOS: Download the
.dmg, drag it into Applications - Windows: Download the
.exeinstaller, run it, click through Next - Linux: Use
.debfor Ubuntu/Debian,.rpmfor Fedora/Red Hat
After installation, the first launch walks you through initial setup — about 3–5 minutes total.
Creating an Account
Cursor requires an account to use AI features:
- Open Cursor and click Sign In in the top right
- Sign in with Google or GitHub, or register with an email
- You’re automatically placed on the Hobby (free) plan — no credit card required
Migrating from VS Code
This is one of Cursor’s most thoughtful touches. On first launch, a migration wizard appears. Click “Import VS Code Settings” and Cursor automatically imports:
- All installed extensions
- Themes and color schemes
- Keyboard shortcut configuration
- Workspace settings
If you missed the wizard, open the command palette (Ctrl+Shift+P / Cmd+Shift+P) and search “Import VS Code Settings”.
Interface Overview: Four Key Areas
File Explorer (Left Sidebar)
Identical to VS Code — includes the file tree, global search, Git panel, and extension marketplace.
Editor (Center)
Your main coding area. Cursor adds several capabilities VS Code doesn’t have natively:
- AI completion suggestions appear as gray text while you type — press
Tabto accept - Select code and press
Ctrl+Kto describe changes in plain language - AI action buttons appear alongside code lines
AI Workspace (Right Chat Panel)
Press Ctrl+L (Cmd+L on Mac) to open it. Three modes:
- Ask: Ask questions — AI answers without touching your code
- Edit: AI modifies code directly in the editor; you review and accept or reject
- Agent: AI autonomously plans and executes multi-step tasks
Terminal (Bottom)
Same as VS Code — Ctrl+` to open. Cursor adds AI-assisted command generation here too.
Core Feature 1: Tab Smart Completion
How It Works
Tab completion is Cursor’s most basic and most-used feature. As you type, Cursor analyzes context in real time and shows gray completion suggestions after your cursor.
- Accept: Press
Tab - Reject: Press
Escor keep typing - Accept one word: Press
Ctrl+→
Multi-line Completion
Cursor’s Tab completion isn’t just single-line — it predicts multiple lines ahead. Write a function signature and it fills in the entire body:
# You type:
def calculate_discount(price, discount_rate):
    # Cursor auto-completes:
    if discount_rate < 0 or discount_rate > 1:
        raise ValueError("Discount rate must be between 0 and 1")
    return price * (1 - discount_rate)
Tips
- Write a comment first, then code: Describe what you want in a comment — Cursor generates code from it
- Use semantic function names: The clearer the name, the more accurate the completion
- Don’t rush
Tab: Wait 0.5s for a complete suggestion before deciding - Use
Ctrl+→for partial acceptance: Accept only the part you want, word by word
Core Feature 2: Chat Mode
Opening It
Press Ctrl+L (Cmd+L) to open the right-side Chat panel. Ask anything about your code in plain language.
Chat vs Agent
Since Cursor 0.46, all conversation modes are unified in one panel with a dropdown to switch:
| Mode | Best For | Modifies Code | Quota Cost |
|---|---|---|---|
| Ask | Questions, explanations, learning | No | Low |
| Edit | Modifying specific files or code | Yes (with confirmation) | Medium |
| Agent | Complex multi-step tasks, new features | Yes (autonomous) | High |
Model Selection
Switch models at the top of the Chat panel. Recommended defaults:
- Claude 3.7 Sonnet: First choice for coding tasks
- GPT-4o mini: Quick Q&A, saves quota
- GPT-4o: When you need stronger reasoning
The @ Reference Syntax
@ is one of Chat’s most powerful features — it lets you precisely control what context the AI sees:
@filename        # Reference a specific file
@folder          # Reference an entire folder
@symbol          # Reference a function, class, or variable
@Docs            # Reference indexed external documentation
@Web             # Let AI search the web for current info
@Git             # Reference Git commits or diffs
Example:
@utils.py the parse_date function in this file has a bug,
find it and fix it — needs to handle ISO 8601 format
This pins the AI to exactly the file and function you mean, instead of guessing across the whole project.
Core Feature 3: Agent Autonomous Coding Mode
When to Use It
Agent mode is Cursor’s heaviest feature. Use it for:
- Building a new feature module from scratch
- Refactoring complex legacy code
- Generating a project skeleton from a requirements doc
- Batch-fixing the same issue across multiple files
For simple edits, use Edit mode — don’t burn Agent quota unnecessarily.
How to Start
- Press
Ctrl+Lto open Chat - Select Agent from the mode dropdown
- Describe your task in plain language — the more specific, the better
Example prompt:
Add user authentication to this Express project:
- Use JWT tokens
- Include register, login, and logout endpoints
- Hash passwords with bcrypt
- Implement in /routes/auth.js and update app.js routing
Staying in Control
You can intervene at any point during Agent execution:
- Pause: Click Stop to review current progress
- Redirect: Add clarifications directly in the chat
- Accept/Reject: Every file change shows a diff — confirm each one individually
Enable “Ask before running terminal commands” in Cursor Settings → Features to prevent unexpected terminal operations.
Quota Usage
Agent mode consumes more fast-request quota because it requires multiple rounds of planning and execution. On the free tier:
- Use Ask/Edit for simple tasks
- Reserve Agent for genuinely complex work
- Use GPT-4o mini for steps that don’t need high intelligence
Cursor Keyboard Shortcuts Reference
10 Essential Shortcuts
| Action | Windows/Linux | macOS |
|---|---|---|
| Open Chat panel | Ctrl+L | Cmd+L |
| Inline edit (with selection) | Ctrl+K | Cmd+K |
| Accept Tab completion | Tab | Tab |
| Reject completion | Esc | Esc |
| Command palette | Ctrl+Shift+P | Cmd+Shift+P |
| Global search | Ctrl+Shift+F | Cmd+Shift+F |
| Quick open file | Ctrl+P | Cmd+P |
| Open terminal | `Ctrl+“ | `Ctrl+“ |
| Go to definition | F12 | F12 |
| New Chat session | Ctrl+Shift+L | Cmd+Shift+L |
Custom Bindings
If defaults conflict with your habits, customize them:
- Open the command palette and search “Open Keyboard Shortcuts”
- Find the action and double-click to rebind
- Or edit
keybindings.jsondirectly:
[
  {
    "key": "ctrl+shift+a",
    "command": "aichat.newchataction"
  }
]
Free vs Pro: Is It Worth Paying?
Hobby (Free) Tier
- Unlimited Tab completions (base model)
- 2,000 completions/month (premium models)
- 50 slow premium model requests/month (GPT-4, Claude, etc.)
- Basic Chat and Edit features
For occasional use, learning, or small projects, the free tier is plenty.
Pro Tier — $20/month
- Unlimited Tab completions (including premium models)
- 500 fast premium model requests/month
- Unlimited slow premium model requests
- Full Agent mode
- Priority response speed
Business tier at $40/person/month adds team management, SSO, and usage analytics.
Student Free Plan
Cursor offers a free Pro plan for students. Register with a .edu email and apply on the Pricing page. One year free.
Verdict
| User Type | Recommendation |
|---|---|
| Students learning to code | Start free; apply for student Pro if you have a .edu email |
| Hobby developers | Free tier is enough; upgrade if you hit the monthly limit |
| Full-time developers | Pro is worth it — time saved far exceeds $20/month |
| Teams | Business tier for management features |
Common Beginner Mistakes and How to Avoid Them
Vague Prompts
The most common beginner mistake is being too vague:
❌ Bad: optimize this code
✅ Good: this Python function uses too much memory on large files — refactor it to use streaming reads while keeping the existing error handling logic
Always specify: what the current problem is, what you want instead, and any constraints.
The .cursorrules File
.cursorrules is a plain-text file in your project root that sets project-level rules for the AI:
# .cursorrules example
You are an expert Python backend developer.

Project conventions:
- Python 3.11+
- Follow PEP 8
- All functions must have type annotations
- Use custom exception classes for error handling

Forbidden:
- No print() for debugging — use logging
- No hardcoded config values — put them in config.py
Commit .cursorrules to Git so the whole team benefits from the same conventions.
Handling Insufficient Context
When a project has many files, AI may give inaccurate answers due to limited context:
- Use
@filenameto explicitly reference relevant files - Put core architecture notes in
.cursorrules - Use
@Docsto reference external documentation - Break large tasks into smaller steps
Advanced Tips
External Documentation Index
Use @Docs to let AI reference specific technical docs instead of relying on potentially outdated training data:
- In Chat, type
@Docsand select “Add new doc” - Enter a URL (e.g., React docs, your company’s internal API docs)
- Cursor crawls and indexes it automatically
- Reference it later with
@docname
Especially useful for newer frameworks or internal APIs.
Global Rules
Beyond .cursorrules, Cursor supports global Rules that apply to all projects:
- Open Cursor Settings → Rules → User Rules
- Add personal preferences like “always reply in English” or “use comments in English”
Project-level .cursorrules takes priority over global Rules — they stack.
Summary: Recommended Learning Path
Week 1 — Build the habit
- Days 1–2: Install, configure, import your existing project
- Days 3–4: Focus on Tab completion — get a feel for the AI-assisted rhythm
- Days 5–7: Start using Chat Ask mode — ask AI about any code you don’t understand
Don’t jump to Agent mode yet. Get the basics solid first.
Week 2 — Master the core features
- Practice inline editing with
Ctrl+K - Learn the
@syntax for precise context control - Set up
.cursorrulesfor your project - Complete one small feature end-to-end using Edit mode
Long Term
- Build a personal prompt template library
- Learn Agent mode best practices — know when to use it and when not to
- Follow Cursor’s changelog — new features ship fast
- Join the Cursor community (Discord, Reddit) for tips and tricks
Once you’ve internalized the Cursor beginner workflow, the productivity gains are real — many developers report 30–50% faster development speed after getting fluent with Cursor.
FAQ
Q: Is the free tier enough?
For learning and light use, yes. The free Hobby tier gives you 2,000 premium completions and 50 fast requests per month — enough for learning and small projects. If you’re using Cursor daily for serious work, Pro pays for itself quickly in time saved.
Q: Does Cursor support languages other than English?
Yes. The AI chat natively handles any language. Add “always reply in English” to your .cursorrules or User Rules to lock the response language.
Q: What’s the difference between Cursor and VS Code?
Cursor is built on VS Code’s source, so the interface and workflow are nearly identical and VS Code extensions mostly work. The key difference is deep native AI integration: Tab completion, Chat, and Agent mode are built in. VS Code needs the Copilot extension for similar features, but the experience isn’t as seamless as Cursor’s native integration.
Q: Is Cursor suitable for complete beginners?
Yes, with a caveat. AI can explain code, help debug, and generate examples — great for learning. But don’t rely on AI to generate everything without understanding it. Best approach: try writing it yourself first, then ask AI when you’re stuck.
Q: What is .cursorrules?
A plain-text file in your project root that sets project-level context and rules for the AI — language version, code style, forbidden patterns, response language, etc. With it, AI follows your conventions automatically without you repeating them every session. Commit it to Git so the whole team benefits.
If this guide helped, bookmark it for reference. Have questions or tips from your own experience? Drop them in the comments.